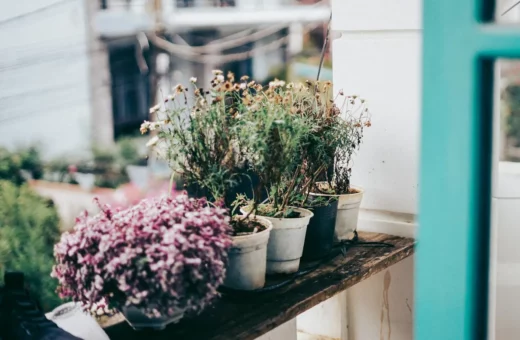
You built or bought a self-watering vertical garden. A week later, you notice a puddle on the floor, a stain on the wall, or wet drip marks down the side of the pipe. A leaking vertical garden is the single most common complaint from first-time apartment growers, and almost every case traces back to one of five specific causes. Each has a fix that takes 5 to 15 minutes.
The Quick Answer
- Cause 1: the overflow hole is missing or clogged (most common).
- Cause 2: the end cap was not properly sealed.
- Cause 3: cracks at the drilled planting holes.
- Cause 4: capillary action carrying water down the outer surface.
- Cause 5: the potting mix is too dense and is holding water at the top.
Cause 1: The Overflow Hole is Missing, Clogged, or in the Wrong Place
Almost every self-watering pipe should have a small 1/4-inch overflow hole drilled in the side at the maximum safe water level. The purpose is to let excess water drip out predictably, instead of seeping unpredictably through the planting holes above. If your build is missing this hole, overfilling pushes water up the soil column and out the planting holes.
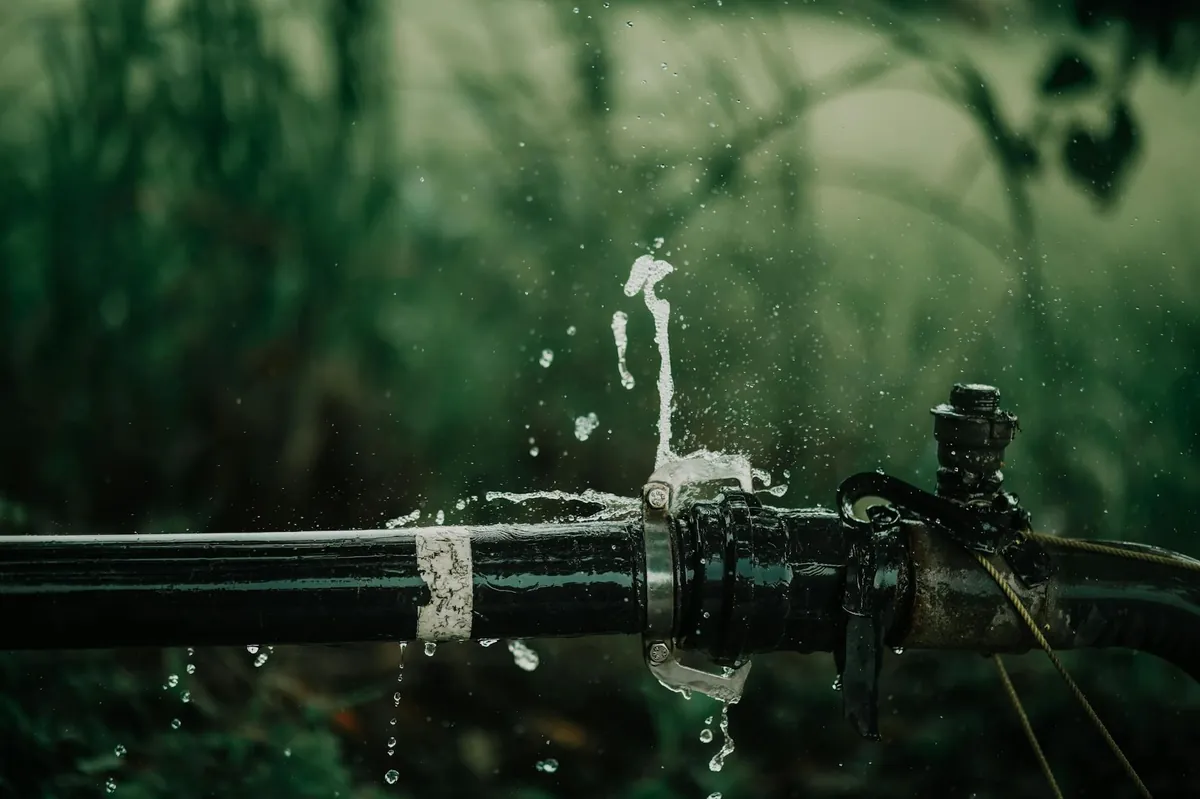
Cause 2: The End Cap Was Not Properly Sealed
PVC end caps fit tightly enough that many builders skip the primer and cement step, relying on friction alone. This works for a few days or weeks, then the cap loosens slightly and water seeps from the bottom edge. If your leak is at the bottom of the pipe, this is almost certainly the cause. Empty the reservoir, remove the cap, clean both surfaces with rubbing alcohol, apply PVC primer and cement, push the cap on, hold for 30 seconds, wait 2 hours before refilling.
Cause 3: Cracks at the Drilled Planting Holes
PVC can crack if drilled too aggressively or with a dull hole saw. Cracks are usually short and appear at the edge of a planting hole. Seal cracks with PVC cement or clear silicone caulk. According to University of Florida IFAS Extension guidance on plastic-pipe repair, both methods are reliable for non-pressurized applications.
Cause 4: Capillary Action on the Outer Surface
When potting mix is wet and packed tightly against the inside wall near a planting hole, water can travel by capillary action through the mix, around the edge of the hole, and onto the outside of the pipe. To fix: gently push the soil back about 1/4 inch from the inside edge of the planting hole. This breaks the capillary bridge.
Cause 5: The Potting Mix is Too Dense and Saturates the Top
Dense potting mixes don’t drain well. The wick draws water up to the top faster than plants can use it, the top of the soil column saturates, and water overflows through the top edge. The fix is to use a soilless or container mix labeled “lightweight”. North Carolina State Extension recommends roughly 50 percent peat or coir, 30 percent perlite, and 20 percent finished compost.
Quick Diagnosis Checklist
- Where is the water collecting? Underneath = Cause 2. Down one side = Cause 4. At the top = Cause 5.
- Is there an overflow hole? No = Cause 1.
- Is the overflow hole clogged? Push a toothpick through. Yes = Cause 1.
- Did you use garden soil? Yes = Cause 5.
- Inspect each planting hole with a flashlight. Hairline cracks = Cause 3.
Preventive Measures for Next Time
- Always drill a 1/4-inch overflow hole at the maximum safe water level.
- Always use PVC primer and cement when installing the bottom end cap.
- Use a sharp 2-inch hole saw on slow drill speed.
- Use a lightweight soilless mix, never bagged garden soil.
- Place a saucer under the pipe to catch the deliberate drip.
- Inspect monthly.
Sources and References
- University of Florida IFAS Extension EDIS
- North Carolina State Extension Gardener Handbook
- EPA WaterSense
Frequently Asked Questions
How do I tell if water is leaking from a crack versus from the planting holes?
Empty the reservoir, dry the outside completely, refill slowly while watching for the first drip. A planting hole leak shows as a wet rim; a crack shows as a thin trail emerging from a fixed point.
Is it safe to use silicone caulk on a planted vertical garden?
Yes, but use a caulk labeled “aquarium safe” if it will contact soil where you grow edibles.
How often should I check for leaks?
Once a month, plus immediately after each reservoir refill.
My pipe is sweating, not leaking. Is that normal?
Yes, condensation is harmless and stops once temperatures equalize.
Should I replace the whole pipe if it has multiple leaks?
Often yes. A 4-foot section costs $12 to $15, so once you have two or more leaks, a fresh build will outlast repeated patching.
This article was researched and fact-checked by Lena Hartwell and the Nexamundo editorial team. Last reviewed on May 19, 2026.
Safety note: sealing PVC involves chemicals with strong fumes. Work in a ventilated area, wear gloves and safety glasses. If the leak is near electrical outlets, unplug nearby devices and dry the area before continuing.