This is the master build guide for a full-featured DIY hydroponic wall garden. Combines wicking, drip-feed, and structural mounting into a single 4-foot wall installation. Total cost: $80-$120. Capacity: 16 plants. Reservoir runs unattended for 14-21 days. The blueprint pulls together everything from previous guides into one comprehensive build.
The Quick Answer
- Total cost: $80-$120.
- Build time: full Saturday (6-8 hours).
- Plant capacity: 16 plants in a 36-inch pipe.
- Reservoir capacity: 14-21 days unattended.
- Combines: wicking for passive water delivery + optional pump for active recirculation.
Why a Combined System
Pure wicking systems are reliable but slower-growing. Pure drip-fed systems are higher-yielding but fail in power outages. The combined hybrid in this guide uses wicking as the baseline (passive, reliable) plus an optional drip cycle (active boost). If the pump fails, plants still survive on wicking alone.
Materials
- 4-foot PVC pipe (4-inch) with end caps.
- PVC primer and cement.
- Cotton wicking rope (5 feet).
- Lightweight container potting mix.
- Small submersible pump (50 GPH).
- 1/4-inch drip tubing.
- Mechanical timer.
- French cleat hangers for wall mounting.
- Hydroponic nutrient solution.
Step 1: Build the Wicking Pipe
Follow the standard wicking PVC vertical garden build (see our wicking bed guide). Seal the bottom with a cap; drill 16 planting holes; install vertical cotton wick; add lightweight soilless mix.
Step 2: Add the Drip Component
Route drip tubing from a small pump in a separate reservoir to the top of the pipe. The pump runs for 3-5 minutes every 12 hours on a timer, delivering an active dose of nutrient water that supplements the passive wicking.
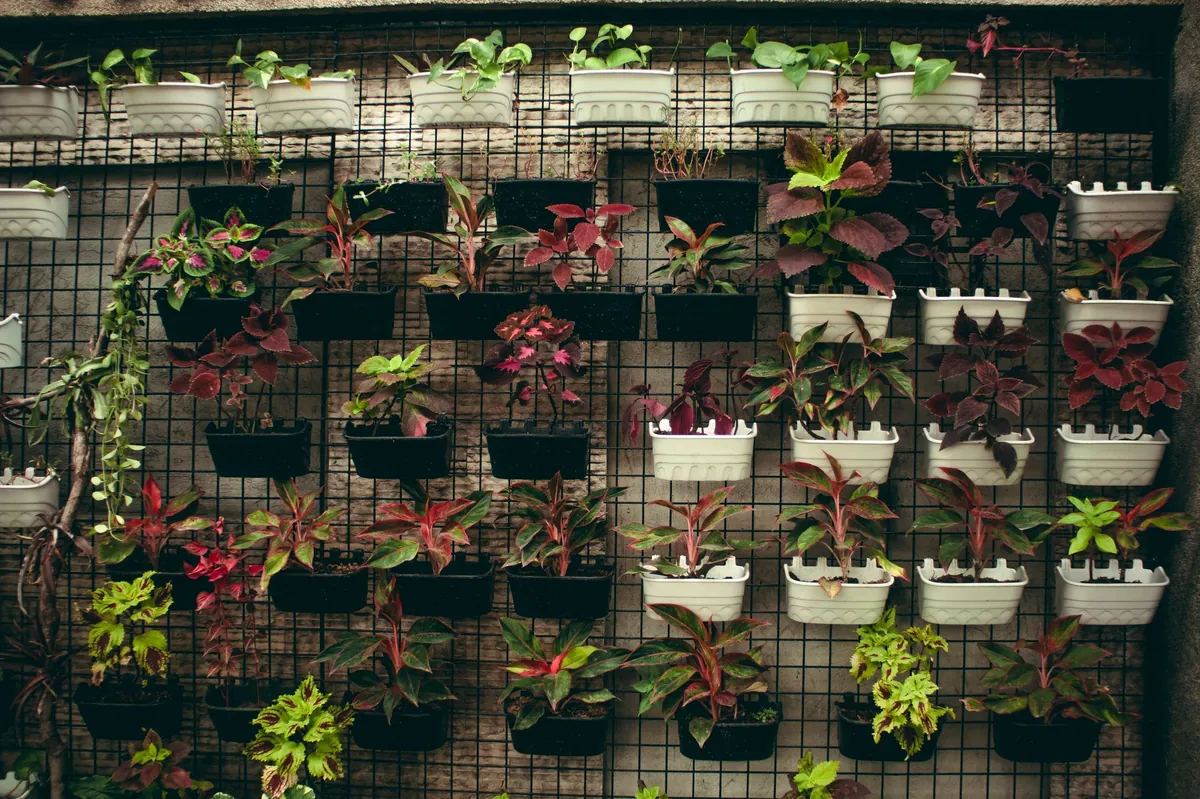
Step 3: Mount with French Cleats
Two French cleat hangers attach to the back of the pipe; matching halves screw into wall studs. The pipe hooks onto the wall cleats. According to USDA urban agriculture standards, wall-mounted systems should attach to structural elements (studs, not drywall alone) for safety.
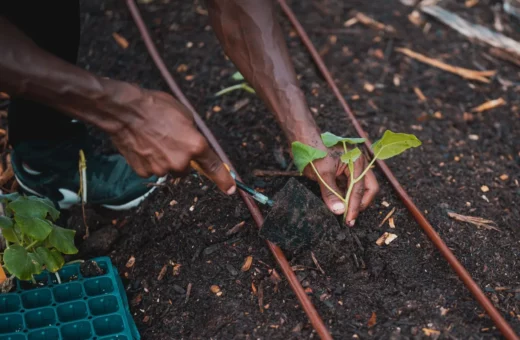
Step 4: Plant and Calibrate
Insert seedlings in each planting hole. Fill the reservoir, set the timer for 12-hour drip cycles. Monitor for 1 week, adjusting drip frequency based on plant growth and soil moisture.
Step 5: Maintenance Schedule
- Weekly: top up reservoir, check pump function.
- Monthly: flush reservoir with vinegar, refill nutrient solution.
- Every 3 months: clean pump impeller.
- Annually: inspect French cleats, mounting hardware.
Sources and References
- USDA Urban Agriculture
- Cornell Cooperative Extension — Hydroponics
- University of Florida IFAS Extension
- NASA — Growing Plants in Space
Frequently Asked Questions
Why combine wicking and drip-feed?
Wicking provides reliability; drip-feed adds growth speed. Combined, you get both with minimal trade-offs.
Can I skip the pump?
Yes — the wicking system alone works. Pump and drip are optional enhancements.
How heavy is the system fully assembled?
About 25 lbs wet. Mount to studs or use anchors rated for 50+ lbs.
Does this work for a renter?
Yes if mounting to a wall is acceptable. Otherwise, use a freestanding floor stand instead of French cleats.
This article was researched and fact-checked by Lena Hartwell and the Nexamundo editorial team. Last reviewed on May 19, 2026.
Safety note: always use safety glasses for cutting and drilling. Use a GFCI outlet for the pump. Anchor to wall studs for safety.