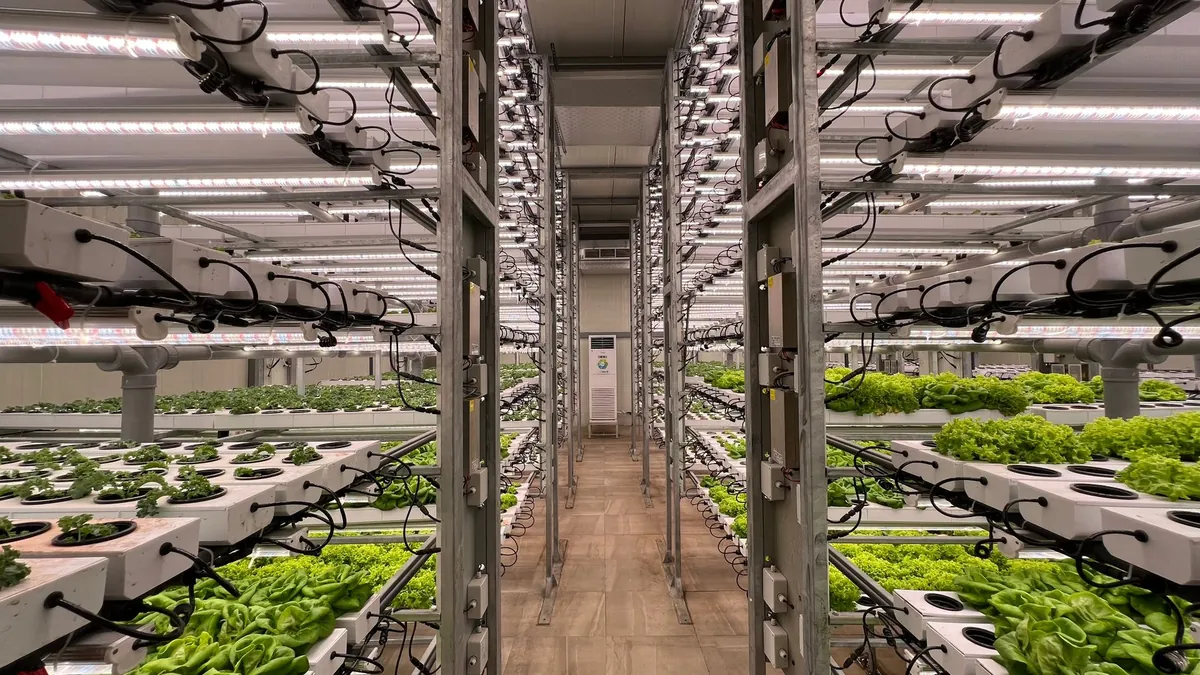
NFT — Nutrient Film Technique — is the hydroponic method used in many commercial vertical farms. A thin film of nutrient water flows continuously past plant roots, delivering water and oxygen at the same time. This guide walks through building a small NFT tower for under $120 that grows 12-16 lettuce or herb plants in a 1.5 sq ft footprint.
The Quick Answer
- Total cost: $80-$120.
- Build time: 4-5 hours.
- Plant capacity: 12-16 plants.
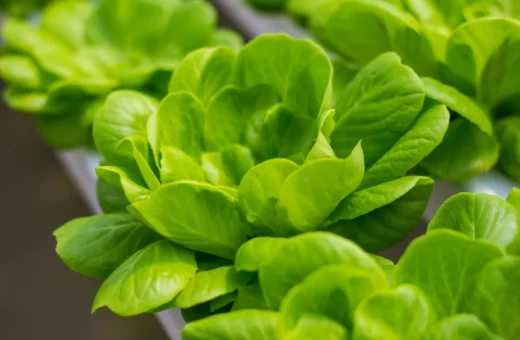
- Best plants: lettuce, basil, mint, arugula, chard (fast-growing leafy crops).
- Electricity: small submersible pump runs 24/7.
How NFT Differs from Wicking
In a wick system, water travels passively through capillary action. In NFT, an electric pump actively circulates nutrient water across the roots through a sloped channel. Roots get more direct contact with the nutrient solution AND more oxygen exposure, both of which speed growth.
According to Cornell Cooperative Extension, NFT systems produce leafy greens 20-30 percent faster than soil-based growing at the same scale.
Materials
- 4-inch PVC pipe (4 feet) and 2 end caps.
- Small submersible aquarium pump (100-200 GPH).
- 1/2-inch tubing (4-6 feet).
- Net cups (2 inches, 12-16 of them).
- 5-gallon reservoir bucket.
- Hydroponic nutrient solution.
- Clay pebbles for root support.
Step 1: Cut the Channel Holes
Drill 2-inch hole-saw holes along one side of the PVC pipe, spaced 3-4 inches apart. Each hole holds one net cup. For a 4-foot pipe, this gives you 12-16 holes.
Step 2: Set Up the Slope
Mount the pipe on a small stand so it tilts at about 5 degrees (one end higher than the other). Gravity pulls the nutrient water from the high end to the low end, where it returns to the reservoir bucket.
Step 3: Plumb the Loop
Attach the tubing from the pump outlet to the high end of the pipe. The pump pushes water up through the pipe; gravity returns it to the bucket. Add a return tube from the low end of the pipe back into the bucket.
Step 4: Set Up Reservoir and Pump
Fill the bucket with water and the recommended dilution of hydroponic nutrient solution. Submerge the pump, plug it in. The pump should run continuously.
Step 5: Add Plants
Insert young seedlings into net cups, with roots dangling through. Place each net cup in a planting hole. The flowing nutrient water bathes the roots from below.
Maintenance
- Check water level daily; top up nutrient solution weekly.
- Replace the entire reservoir solution every 2-3 weeks to prevent salt buildup.
- Clean the pump every 2-3 months (mineral buildup).
- Monitor pH if growing demanding plants.
Sources and References
- Cornell Cooperative Extension — NFT Hydroponics
- USDA Urban Agriculture
- NASA — Growing Plants in Space
- University of Florida IFAS Extension
Frequently Asked Questions
What if the pump fails?
Plants survive 12-24 hours without active flow before showing stress. Replace the pump within this window for best results.
How much electricity does the pump use?
A small aquarium pump uses 5-15 watts continuously, about $5-$15/year.
Do I need to monitor pH?
For lettuce and herbs, target pH is 5.5-6.5. Cheap pH test strips ($5) work fine.
Can I grow tomatoes in an NFT tower?
Not effectively. The shallow flowing water doesn’t support deep tomato root systems.
This article was researched and fact-checked by Lena Hartwell and the Nexamundo editorial team. Last reviewed on May 19, 2026.
Safety note: use a GFCI outlet for the pump. Inspect electrical connections regularly for water contact.